
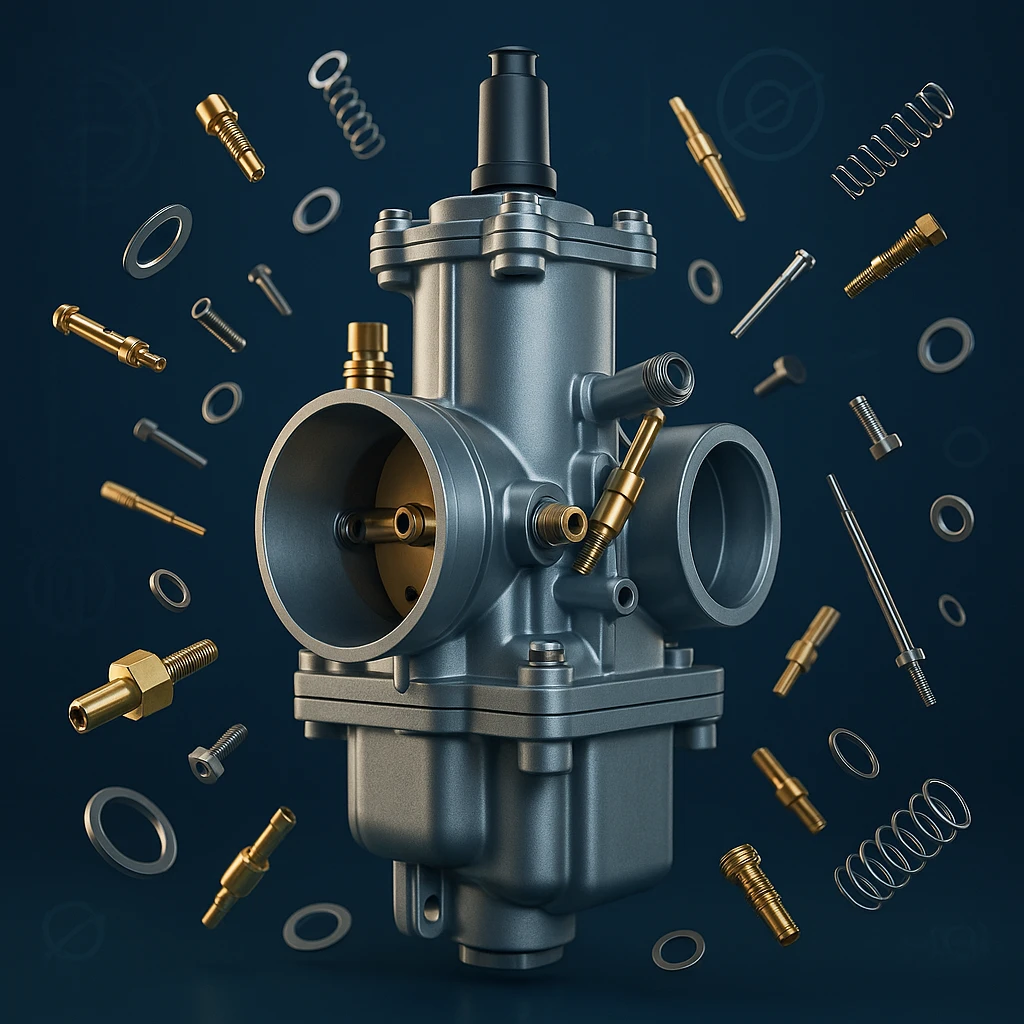
How to Tune Your Carburetor Properly (Especially With a Carb That’s Too Big)
Learning how to tune a carburetor can be frustrating—especially when you’re working with a carb that’s slightly too big for your engine. In that situation, even small mistakes can lead to bogging, dead spots, poor idle, or a bike that simply refuses to run right.
If you’ve been searching for how to tune a carburetor properly, this guide gives you the exact step-by-step method used by experienced mechanics to get any carb working perfectly. You’ll learn how to set the pilot jet, dial in the idle circuit, adjust the needle for clean mid-throttle response, and finally tune the main jet for full power.
This method is simple, repeatable, and works on any motorcycle carburetor—especially when tuning an oversized carb where precision matters most.
Table of Contents
- How to Tune a Carburetor: Overview of the Method
- How a Carburetor Works by Throttle Position
- Know Your Two Important Screws: Idle Screw vs Air Screw
- Step 1: Start With the Pilot Jet (Main Jet Removed)
- Step 2: Fine-Tune Idle (Pilot Jet + Air Screw)
- Step 3: Adjust the Needle (Midrange Throttle)
- Step 4: Install the Main Jet and Tune Full-Throttle
- Check Float Height, Fuel Delivery, and Exhaust Flow (If Full-Throttle Problems Persist)
- Step 6: Fine-Tuning With Plug Reads and Jet Swaps
How to Tune a Carburetor: Overview of the Method
In short, this is how to tune a carburetor in a reliable way: first remove the main jet, then tune the pilot jet and idle circuit, next adjust the needle for clean midrange, and only then reinstall and tune the main jet for full-throttle power. By working in this order, you avoid chasing jetting problems that are caused by the wrong circuit.
How a Carburetor Works by Throttle Position
Before you touch anything, you need to know which part of the carb does what. Additionally, understanding this will make every later step of learning how to tune a carburetor much easier. For a more general explanation of how carburetors work, you can also read this carburetor overview on Wikipedia.
- Idle to 1/4 throttle – Pilot jet (slow jet):Controls starting, idle, and the first bit of throttle opening.
- 1/4 to about 3/4 throttle – Needle & needle jet:This is your midrange. Needle clip position and needle/needle jet size control how rich or lean the bike runs here.
- 3/4 to wide-open throttle (WOT) – Main jet:Controls fuel at large throttle openings under load. It does nothing for idle or very light throttle.
As a result, if the pilot and needle are wrong, the bike will already run badly long before the main jet even starts working.
Know Your Two Important Screws: Idle Screw vs Air Screw
Next, before we tune anything, let’s clear up a common source of confusion:
Idle Speed Screw
- Controls how far the throttle slide (or butterfly) is held open at idle.
- Changes idle RPM only.
- Does not change the fuel mixture directly.
Air Screw (or Fuel Screw, depending on carb design)
- On most slide carbs with a screw on the airbox side, it’s an air screw:
- In = richer (less air)
- Out = leaner (more air)
- On some carbs with a screw on the engine side, it’s a fuel screw (opposite effect).
- In this guide, we assume the carburetor uses an air screw: turning it in makes the mixture richer, and turning it out makes the mixture leaner.
In the steps below I’ll always say clearly which screw you’re turning and why, so you can understand how to tune a carburetor with confidence.
Step 1: Start With the Pilot Jet (Main Jet Removed)
This is where your method begins – and it’s crucial if you want to learn how to tune a carburetor correctly from the bottom up.
- Remove the main jet.
- Take the main jet out of the carb and reinstall the float bowl.
- From now until we start tuning the main, you leave it out.
- Set the needle clip in the middle position.
- On a 5-clip needle, that’s clip position 3.
- This gives a neutral starting point.
- Check if the pilot jet is in the right range.
- Turn the air screw all the way in (clockwise) until it lightly seats.
- Start the engine.
- If the engine still idles with the air screw fully in:→ The pilot jet is too big / too rich.
- If the engine stalls or really struggles to run:→ You’re in the right ballpark for pilot size.
- Swap to a pilot jet that makes the engine stall when the air screw is fully in.
- You’re looking for the smallest pilot jet that does not allow the bike to idle with the air screw fully closed.
- Once you have that, you know you’re close to the correct pilot size.
- Set a baseline air screw and idle.
- Install a fresh spark plug.
- Turn the air screw out 1.5 turns from fully seated.
- Use the idle screw to set a basic, slightly-fast idle so the bike runs comfortably.
At this point, with the main jet removed and a correct-range pilot installed, your carb is ready for fine idle tuning and the next stages of how to tune a carburetor properly.
Step 2: Fine-Tune Idle (Pilot Jet + Air Screw)
Now we refine the very bottom of the throttle range so the bike idles cleanly and responds crisply off idle. This is an essential part of how to tune a carburetor if you want smooth low-speed control.
1. Raise the idle speed a bit
- Use the idle speed screw to set the idle 2–3× higher than normal.
- This makes it easier to hear and feel how the engine responds to mixture changes.
2. Warm the engine up
- Let the bike run until it’s at full operating temperature.
- Cold engines lie to you; always tune when warm.
3. Use the air screw to find the best mixture
Now we leave the idle screw alone for a moment and focus on the air screw:
- From about 1.5 turns out, slowly turn the air screw in (clockwise) in small steps (1/4 turn at a time).
- Listen for the idle to become heavier, rougher, or slower.
- Then turn the air screw out (counter-clockwise) in 1/4 turn steps.
- At some point, the engine will reach its highest, smoothest idle.
- That point is usually somewhere between 1 and 2.5 turns out.
- Note the position where the engine sounds the smoothest and most “crisp” at that raised idle speed.
If:
- The engine runs best with the air screw almost fully in → pilot jet is too small (lean).
- The engine runs best with the air screw almost fully out (e.g. more than ~2.5–3 turns) → pilot jet is too large (rich).
In either case, change the pilot jet one step richer/leaner and then repeat the process. In other words, you return to the previous step and keep refining until the air screw adjustment falls into a normal range.
Step 1 + this step until:
- The engine idles best somewhere between roughly 1–2.5 turns out on the air screw.
4. Reset the idle speed to normal
Now that the mixture is right:
- Use the idle speed screw to bring the idle down from “2–3× higher” back to a normal, stable idle speed.
- You’re only changing RPM here, not mixture.
At the end of this step:
- The pilot jet size is correct.
- The air screw is set for best idle mixture.
- The idle screw is set for your desired idle speed.
Therefore, the foundation of how to tune a carburetor is now in place. The main jet is still removed.
Step 3: Adjust the Needle (Midrange Throttle)
Now that the pilot circuit and idle are correct, we move up into the 1/4 to 3/4 throttle range. The main jet is still out, so what you feel now is almost entirely pilot + needle. This is a critical stage if you want to know how to tune a carburetor for smooth midrange power.
Baseline
- Needle clip is still in the middle position (3rd).
- Engine is warm.
- Bike is on a stand or in a safe test area.
Quick throttle test
“Snap” the throttle open quickly from idle or low RPM. After that, watch for:
- Bog or delay – feels like the engine hesitates, then picks up.→ This usually means the midrange is a bit lean, and the engine wants more fuel.
- Heavy, lazy response – feels like it’s loaded up and slow to rev.→ This usually means it’s too rich in the midrange.
Needle clip adjustments
- To richen the midrange:
- Move the clip down one groove (needle goes up).
- To lean the midrange:
- Move the clip up one groove (needle goes down).
A small amount of bog can be acceptable with an oversized carb, but don’t make it so rich that the bike feels heavy and sluggish.
On many small engines, a clip one step richer than middle (for example, clip 4 of 5) often feels best – but always trust what your own engine tells you.
Once the bike revs cleanly and sharply up through the midrange with the main jet removed, your needle setting is in a good place and another part of how to tune a carburetor has been successfully completed.
Step 4: Install the Main Jet and Tune Full-Throttle
Now we finally bring the main jet back into the picture. Up to this point, all tuning has been done with the main jet removed, so the pilot and needle are doing nearly all the work. Consequently, this is the stage where you see how to tune a carburetor for full-throttle power.
Reinstall the main jet
- Refit a main jet that you expect to be in the ballpark.
- On many small single-cylinder engines, you might experiment within a range of a few sizes (for example, 105–115), but the exact numbers will depend on your carb model, engine, altitude, and fuel.
Test under load
You cannot tune the main jet properly on the stand. Instead, you need:
- The bike fully warmed up
- A gear where the engine pulls cleanly through the revs
- 3/4 to full throttle under real load
Listen and feel for:
- Too lean main jet:
- Bike feels flat at wide open throttle
- Hesitation or “dry” sounding top end
- Plug tends toward white/light grey
- Too rich main jet:
- Bike won’t rev out cleanly
- Feels soft or “blubbery” at full throttle
- Plug tends toward dark brown/black and sooty
Therefore, make small changes (one main jet size at a time) and always re-test under the same conditions.
Check Float Height, Fuel Delivery, and Exhaust Flow (If Full-Throttle Problems Persist)
Sometimes what feels like a “lean main jet” at full throttle is actually fuel starvation. This becomes even more likely when you use a carb that’s slightly too big for the engine – it can drain the float bowl faster than it fills.
Sometimes you can follow every tuning step perfectly — the pilot is dialed, the needle is crisp, the main jet should be correct — yet the engine still bogs, cuts out, or falls flat at higher throttle openings.
When that happens, it’s often not a jetting problem at all.
There are three major mechanical restrictions that can mimic incorrect jetting:
- Float height problems
- Fuel delivery limitations
- A restrictive exhaust system ← extremely common and often overlooked
1. Float Height Issues
An incorrect float height can cause the carburetor bowl to either:
- run too low, starving the engine at high RPM, or
- run too high, causing flooding and inconsistent mixture
With the carburetor held upside down:
- The float should rest at a slight inward angle, not perfectly level or hanging down.
- If the angle is wrong, fuel cannot enter the bowl at the correct rate, leading to intermittent bogging at higher throttle openings — especially on oversized carbs that demand more fuel.
2. Fuel Delivery Limitations
If the engine suddenly bogs or dies at sustained high throttle, ask yourself:
- Is the fuel line kinked?
- Is the petcock flowing freely?
- Is the tank vent working?
- Is the inline filter clogged?
Even a small restriction in fuel flow can starve the carb bowl, causing symptoms that feel lean — even if your main jet is actually correct.
Oversized carburetors consume more fuel per second, which makes proper fuel flow even more critical.
3. Exhaust Restrictions (The Silent Jetting Killer)
A restrictive exhaust can cause tuning problems that feel exactly like incorrect jetting, leading riders to change jets repeatedly with no improvement.
A blocked, overly small, or poorly flowing exhaust causes:
- trapped heat
- trapped exhaust gases
- insufficient scavenging
- lower oxygen availability per cycle
- unstable carburetor signals
- failure to rev out at full throttle
This results in symptoms such as:
- bogging at high RPM
- overheating
- inconsistent power delivery
- a bike that feels lean even with a rich main jet
- jetting changes that seem to “do nothing”
Many riders have spent hours adjusting jets, only to discover:
The exhaust simply couldn’t flow enough heat and air. Once I replaced it, everything suddenly tuned correctly
If the carb refuses to tune cleanly at high throttle — especially with an oversized carb — take a serious look at:
- carbon build-up
- collapsed baffling
- clogged spark arrestors
- narrow or blocked mid-pipe sections
- cheap pipes with poor internal design
A carburetor can only perform as well as the exhaust allows.
When to Suspect Exhaust or Fuel Issues Instead of Jetting
If:
- the bike pulls fine in the midrange (needle)
- but cuts out or dies suddenly at full throttle
- AND richer/leaner main jets don’t meaningfully change the problem
→ Your issue is almost certainly fuel delivery or exhaust flow, not jetting.
Always rule these out before chasing more jet sizes.
Step 6: Fine-Tuning With Plug Reads and Jet Swaps
After your base tune (pilot, needle, main, and float), you can chase perfection. At this stage you are already far along in understanding how to tune a carburetor, and plug reading helps you refine the final details.
Plug reading basics
After a full-throttle run, kill the engine and check the plug:
- Light tan / coffee color → mixture is generally good
- White / very light → too lean
- Black / sooty → too rich
You can now experiment with:
- Slight pilot jet changes
- Needle clip or even different needles
- Slight main jet changes
Finally, expect to go through a few spark plugs while you’re chasing the perfect tune – that’s normal and part of learning how to tune a carburetor with precision.